Tuesday, January 31, 2017

Printing Lithophanes

Source Wikipedia:

lithophane (French: lithophanie) is an etched or molded artwork in very thin translucent porcelain that can only be seen clearly when back lit with a light source. It is a design or scene in intaglio that appears "en grisaille" (in gray) tones.
A lithophane presents a three-dimensional image - completely different from two-dimensional engravings and daguerreotypes that are "flat".
The images change characteristics depending on the light source behind them. Window lithophane panel scenes change throughout the day depending upon the amount of sunlight. The varying lightsource is what makes lithophanes more interesting to the viewer than two-dimensional pictures.


I am attempting this ancient technique of producing Lithophanes with my 3D printer and some CAD software.


my first attempt will be a photo of my Father and uncle sitting on the back stoop

First I convert it to a CAD model with the help of heightfield pixel mapping.

Heightfield mapping converts different colored pixels in an image and gives them different Z values (elevation). and by changing the elevation it creates a 3D pattern from a 2D image. the X/Y coordinates of each pixel stays the same, only the elevation of each pixel changes and each is stitched to the neighboring pixel to make a solid surface.


Now to print... stay tuned


Monday, January 30, 2017

Leveling the Z gap on a Cube3 Printer

NOZZLE LEVEL ADJUSTMENT


Whenever new cartridges are installed or changed in the printer, it is important to check the z-gap on both print tips to make sure the z-gap is the same for both and avoid issues while printing, especially for dual-color parts. To check the leveling of the nozzles, cartridges have to be already installed on both sides of the printer.

*IMPORTANT NOTE: You must ALWAYS use the "Change Cartridge" option to install/uninstall cartridges in the printer. If a cartridge is removed without following the prompts of the "Change Cartridge" option in the Set Up menu, this could likely cause damages when removing the print head, and change the leveling of the nozzle when it's placed back in.

 
  • Tools required for this procedure

  1. Gap Gauge (from your tools)
  2. 1.3mm Hex Driver (Not included in tool kit)

Checking the Z-Gap for Both Nozzles

  1. First, remove any pieces of plastic found around the print tips. This will give a false z-gap value. The nozzles should be clean and filament-free. Make sure the print tips aren't being damaged while cleaning.
  2. In the Set Up menu of the home screen, scroll to the Calibrate Icon and select the Auto Gap option.
  3. Once the Auto Gap finishes successfully and shows you the gap value, always select ADJUST to set it manually.
  4. For a correct z-gap, you should be able to slide through the gauge and move it around freely, but it cannot move past the white sticker on the center of the gauge. This should be exactly the same for both nozzles.
  5. If the nozzles are leveled, press the check mark to save the new gap value and finish the process. (If Auto Gap was unsuccessful, select Manual Gap Adjustment option to correct it).
  6. If the z-gap is off on either nozzle, press the power button to exit out of Auto Gap, and level the nozzles manually.

Leveling the Nozzles

  1. Looking from the back of the printer, look up to the print jets and you'll find a white plastic frame with 2 screws (leveling screws for each jet). Unscrew both leveling screws until they are no longer touching the top plastic frame, but do not remove the screws all the way out. They could get easily lost, or be difficult to screw back in.
  2. With your hands, move the jets side to side to get them as close to leveled as possible (make sure the print heads remain fully installed and the dots are always aligned).
  3. Re-adjust the screws by rotating them counter clockwise, up until they touch the top frame (this will lower the nozzles for fine adjustment).
  4. Manually raise the print pad by hand, and check to see if both nozzles are touching the pad.
  5. If one nozzle is higher than the other one, keep rotating the screw of the higher nozzle counter clockwise (only about 1/16 of a turn at a time) to lower it, until both tips are touching the pad.
  6.  When you finally get both print tips to touch the plate, go to Set Up -> Calibrate -> Auto Gap.
  7. Once Auto Gap finishes and shows you the value, check to make sure both tips have the same z-gap. If they don't, exit Auto Gap and repeat Step 5 until the z-gap is the same for both.
  8. Go back to Auto Gap to make sure the Z-gap is correct. If it's not, select "Adjust" to set the gap manually.
  9. With the nozzles leveled and the z-gap well adjusted, press the checkmark to save the new values.
 

** Be careful not to set the screw too deep, as this could damage and crack the white plastic frame.
**If you go back to Auto Level/Auto Gap after saving the new value, this will reset the value and you may have to manually adjust the z-gap again.


Sunday, January 29, 2017

1911 Custom grips - several colors and styles available

... Or with custom Text - several option available

Go to the firearm parts section of our store to order yours today

Special 
Neon Orange with dimples - $22.95
Neon Orange with "1911" on left and "Cal .45" on the right grip - $24.50


Saturday, January 28, 2017

After making my own  1911 grips I got looking around and found this on Thingiverse.
Credit goes to benwc81 for the CAD model.

Since I had the printer already warmed up i thought what the hell, i'll give this model a try.
looks pretty cool with the recessed text. So now I'll not forget what Caliber and model it is 😁


Friday, January 27, 2017

3D Printed 1911 grips

CAD drawings  brought into the CUBE software to prepare for printing


I finished the CAD drawings last night for scales for my 1911. So this morning i fired up the Cube3 print software and set up a build.
I wanted them to REALLY stand out so i printed in Neon Orange. the print started around 5am and they were done before my Friday conf call was finished (9AM). I just took them off the build plate and they fit perfectly.
what do you think, maybe Neon Green next round?


Hot of the printer - took about 2 1/2 hours start to finish


Fit was perfect - no adjustments or fitting required
Looks great to me


Thursday, January 26, 2017

Coles Gunworks Website and Store

The Website and on-line store are up, please visit www.colesgunworks.com
I have Leather beer mugs that I can customize for you, Cast Lead Bullets of various calibers, vinyl decals for your car/truck/ATV/Boat, and soon I will offering used firearms.
More to come so please visit often.
My 3D Printed metal Makers stamp
the Navy 1851 .44 cal
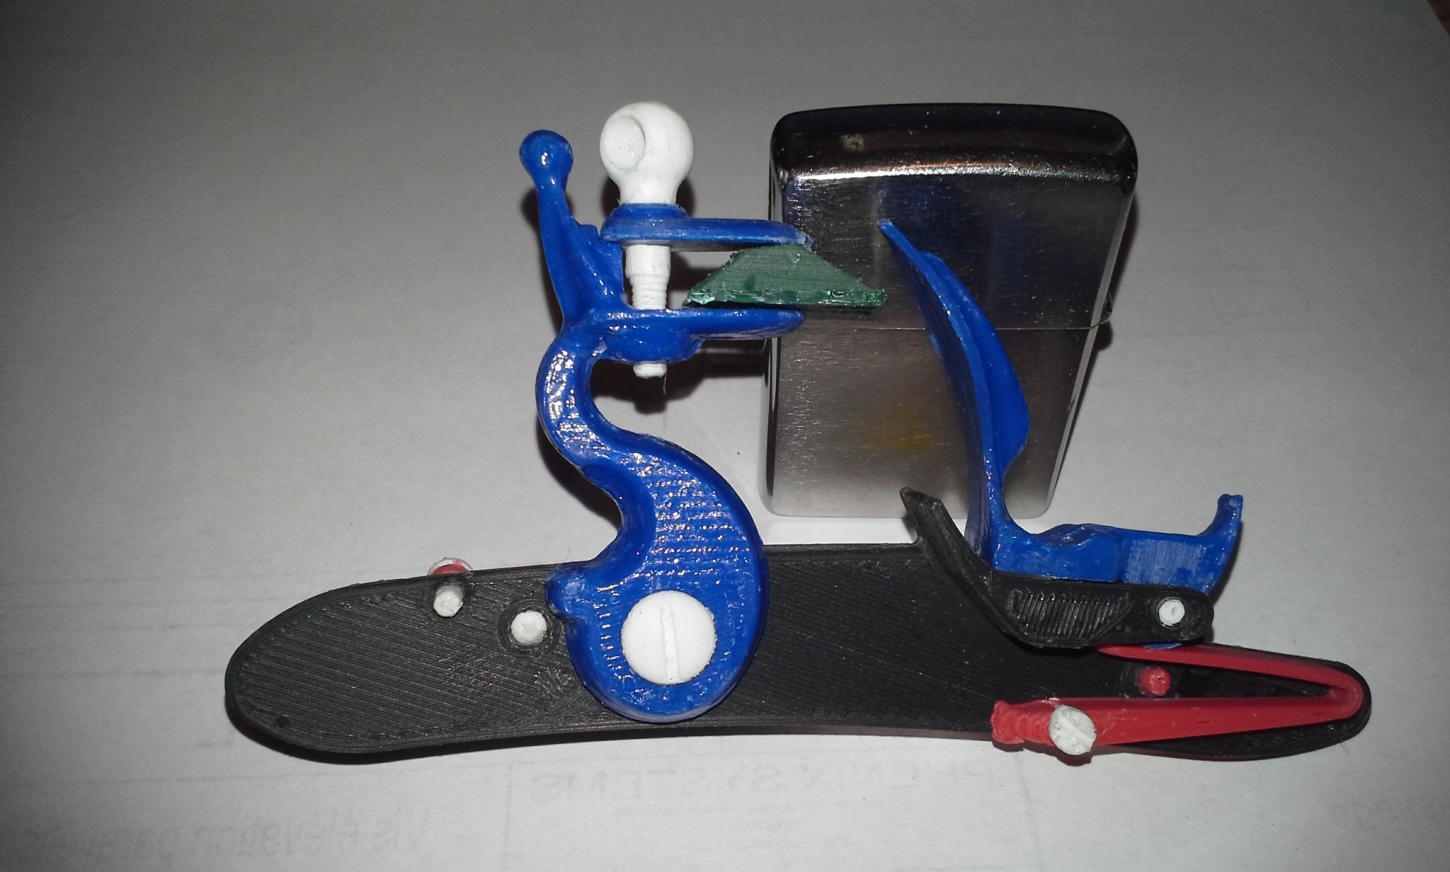
printed parts of a flinklock